Monday 1 December 2014

Tis the Season

Ooooohhhh, right.  I know. I love it too.  The dies are from Whimsy, the paper from Stampin Up and the embossing folder from Sizzix.  I mega love this paper and wish I had bought MORE of it.


Sunday 23 November 2014

Big Christmas Card

This card was ubber fun to make.  I always love making cards with fun folds and different designs.  This card is a whopping 6x6 card which is large for me but that's the size I needed to work with to do http://frommycraftroom.blogspot.ca/2013/02/template-for-4-step-card-6-x-6.html

The front of the card I used memory box dies and nesties and an embossing folder, layered with stampin up paper.


The inside... I love! I love the steps and the tree die and the splashing of Christmas colors!


I hope you liked this card too,

Nicole G

Sunday 16 November 2014

Simple Elegant Xmas

Good morning my peeps.  Here is the beginning of my Christmas cards.  I try to do some simpler cards for some of my family and friends and then some fancier cards for those who I know truly appreciate homemade cards.  

The stamp is from Stampin up and the dies are from Memory Box.  I highly recommend checking them out.  So many awesome dies!!


Hope you like today's card

Nicole G

Wednesday 12 November 2014

Snowflake-y Christmas Card

The paper is all from SU.  The stamp is from Just Rite.  The awesome snowflakes were purchased and are some translucent sheet and look super ubber cool in real life.  The dies on the inside are from Memory Box.  


Thanks for stopping in,

Nicole G

Sunday 2 November 2014

Simple XMas Design #2

Here is another simple Christmas card.  But isn't this just awesome.  I love this Sizzix embossing folder (textured snowflakes).  The stamp is from the stampin up set called Lovely as a Tree.  It is hands down Stampin Up's best stamp set.  Then I added some stickles for some extra pizazz.


Hope you have enjoyed today's card, 

Nicole G

Monday 27 October 2014

Daniel's page


It's unbelievable to consider, but this picture is 7 years old now!   Hilariously, my uncle who is from Montreal, PQ, specifically took time off to drive down to my wedding which was in San Francisco but accidentally got the date wrong so he missed it!  He was only late by a few hours as he thought I was getting married on the Sunday, but late is late!  It's something we often laugh about.  However, we did do dinner with him and I am ever so lucky because we went to a place called Morton's and it's still the best restaurant steak I've ever had.   My sister is on the left-she's incredibly photogenic.  My "oncle" (uncle in french) Daniel and me on the right.


In this page I used Tim Holtz Grunge paper for the huge florish.  I painted it and spritzed it and then added those tinnnnny little beads and embossed it for texture.  Then I used some already weird texturized papers for the circles and cut out fleur-de-lis' out of the red one.

The border at the top is using a fleur-de-lis mask.

I used my KNK to cut out the words.

The flourish on the bottom right is my favorite Stampin up Stamp.  Unfortunately, I broke apart my stamps years ago and can't recall the name of the set.  It's only clue is 2007 on the sticker.

Well... I hope you have enjoyed today's scrap page.

Nicole G

Monday 20 October 2014

Farhan's Birthday


I am really excited to show you another Nicole original with incredible customization.  I started with the 4 Step Card technique and then did awesomeness with it.  My friend wanted this card to be very special. Farhan was turning 40 this year and he is super creative, athletic and philosophical.  Therefore below is what I came up with.


The coat of arms you see is a coat of arms that Farhan created for the Regina Cricket Club, The Cavaliers.
I imported his creation into MTC and then my KNK Zing machine happily cut it out!  I think it turned out brilliantly.  Then instead of adding the team name at the top and bottom I cut out a Happy Birthday instead.

For the background, I used a few Tim Holtz and Stamp Scapes sentiments to appeal to his philosophical side.   I also cut out his name.

On the inside, I printed out and colored a person doing cricket and used nestibilities for the background shape.  I found a cute poem and adhered that too.

This is one of the most exciting and fun cards I have ever made.  It's super fun making one of a kinds for people.  Especially when they have fun hobbies that you can play around with.

Thanks for dropping in,

Nicole G

Monday 6 October 2014

Happy Monday


Just a cute card to look at today.  I never could get this card to picture well... so, happy Monday.


Nicole G

Monday 29 September 2014

Leaves and more leaves!

Good morning peeps.  Are you ready?  Ready for the amazing that is fall? I am.  It's my favorite season.  I love the colors and the smells and the fresh vegetables and how I no longer have to mow the lawn!!

This was using the soot technique.  Isn't it neat-o?


 Check out some cards here

Hope you liked today's simple post

Nicole G

Monday 22 September 2014

Kashi's Birthday card

This card is a Nicole original.  My co-worker asked me to come up with a card for her friend that loves the Godfather.  So, I cut out the Paramount presents logo for my "movie".  Then I added some terms that she asked me included in the card such as La Cosa Nostra.  Then I made Kashi, her friend, the starring actor in this film. I got a couple of pictures of him and then played around with it (and my husband helped me) to make a mock up like the older posters.


See.... this is Kashi below!! 


I am ubber proud of this card, so I hope you've liked it.

Nicole G.

Monday 15 September 2014

Tori's 70th

So, I have been finally using my KNK Zing machine and I freakin love it!  It is seriously amazing.  I use the cutter with Make-the-Cut and the two of them are incredibly awesome.  If you can think it, you can probably cut it.  If you are considering either replacing your Cricut or it's your first time thinking about getting a cutter, I highly recommend this cutter.  I like it because there are no cartridges limiting you from creating. The machine itself is more expensive than other cutters, but you never pay for cartridges.  You can find things on the internet or even take pictures and with some manipulation, you can cut it.  How cool is that.

For this project, I started with 2 blank sheets of paper, but added the darker teal cause I thought it needed it.  The metallic purple paper was cut out using the machine with a border I found on make the cut and then adjusted for my needs.  Then I welded a crown for the corners.  Then I created a shadow border which is what the light blue paper is.

The words I also created using MTC and cut out with KNK Zing.  I warped the words a little for some dimension and welded in a couple of butterflies to help hit my needed quota of 70. 

Check out the crown on the corner.  I think of my MIL as the Queen of the family so it's perfectly suited! I love these butterflies because of the super fun 3D effect and also because Tori loves butterflies!

The extra butterflies are cut out with Stampin up and memory box dies.

There are 70 butterflies in total as it was her 70th birthday! My MIL is a total bling girl so I added as much bling I thought necessary!!

Hope you have enjoyed today's project!

Nicole G


Friday 29 August 2014

Plow wind or not a plow wind... that is the question


plow wind [′plau̇ ‚wind]
(meteorology)
A term used in the midwestern United States to describe strong, straight-line winds associated with squall lines and thunderstorms; resulting damage is usually confined to narrow zones like that caused by tornadoes; however, thewinds are all in one direction. Also spelled plough wind. Also known as derecho.

This storm on August 8, 2014 was powerful with incredible lighting and of course wind! It tore many trees right from their roots and others just broke. Mine just snapped as we watched from the bedroom window like fools.  We stopped watching after that and naturally headed to the basement for safety.  Luckily the tree did not create a hole in the roof!

This is my house pre-storm. Cute bungalow with meganormous tree and notice the cute fence on the left.


This is post storm. See anything miiiissssinggg???  This picture makes me feel like I like on an acreage with no neighbors.  Good bye tree and good bye fence and oh... good part chunk of my roof.    The tree pieces your see cut are from the branches, not the trunk.  The trunk is... I guess was 46 inches in diameter.

This is one of my favorite pics.  It does a pretty good job of showing how LARGE this tree was. 

This is after my father-in-law and a few people were cutting parts of the tree.  We put all the branches to the front of the yard as the town had a crew of people that would pick them up! 


Yah! Roof shot!  How often can you take a picture like this? 

Tree removed and damage is suddenly noticeable.  Looks a little sad, but at least no one was hurt. 

 The town itself suffered many tree losses.  It looked like a tornado had hit the following morning.

However, as unfortunate as this was I really got to see what the great little town we live in.  The town had crews helping picking debris the following morning, for the next week basically.  At one point, we ourselves had 13++ people helping breakdown the tree (some with saws and even a bobcat) and others offering lunch or moving debris to the trucks that came by.

Now, I just gotta get a contractor in to get 'er fixed.

Best Friends Wedding


Hello Bloggers,

I have been distracted this summer with our best friends wedding, my sister's wedding in September, my MIL's 70 Birthday bash and a nasty storm took part of our house down (I'll say more on this later).

But back to the task at hand... Our best friend was getting married in April (yes, I've been sitting on these pictures for months now)  and decided to write her a poem to give her on their wedding day.  He asked if I could do something with it to make it unique.  I came up with these costers that were nicely wrapped in pretty ribbon.

They took a fair bit of time, but result was awesomeness all around!! I printed out the poem and cut them up so they would fit on each of the costers.  Since the wedding was taking place in Mexico I went with a beach theme.

                                                                 Plain boring coster

All the costers have stamps (many stamps), number stickers, distressing, coloring and clear applique

There is a minimum of 3 layers of clear applique on each coster to give it depth.


Before clear applique was applied to the "cover" coster

                                                                 After application!!

I hope this was a fun project to look at as it was incredibly fun and special to make.

Nicole G

Monday 28 July 2014

Queen Wilhelmina Scrap Page


I find scrapbooking to be hard.  I find it requires even more patience than making cards. I think that is because unlike cards where you don't normally use your own photos, in scrapbooking you do.  It's very intimate, at least to me.

I have literally been "working" on this scrap page for years.  I would start and muck around with a few ideas, then lose interest, patience or inspiration.  I am glad, however, that it did take me this long.  The original was not going to look anything like this and I LOVE how this turned out.   It's hard to believe my original colors were pinks to match my gown and what I now think of as some terrible greens to go with it.

Instead, I have this.  My masterpiece!

Darcy and I got married in San Francisco,CA on September 8, 2007 at a location of Golden Gate Park called the Rustic Bridge (see filmstrip pics or see pic below).

We took pictures at 3 locations: Rustic Bridge, Queen Wilhelmina Park, and Lyford's Tower (still need to make a page with those photo's).

The main paper background (brown with white dots) is from SU.  The clear overlay with red velvet is from Michael's.  The filmstrip is a piece I have had for a long time and just couldn't ever figure out the best way to use it, but voila, here it is.  I had this super fun rhinestone bling with a heart shape and it fit this picture so well I had to use it.  Also used some fun bling along side the main picture.

There is some green velvet self-adhesive ribbon below one of the flourishes and the word love.


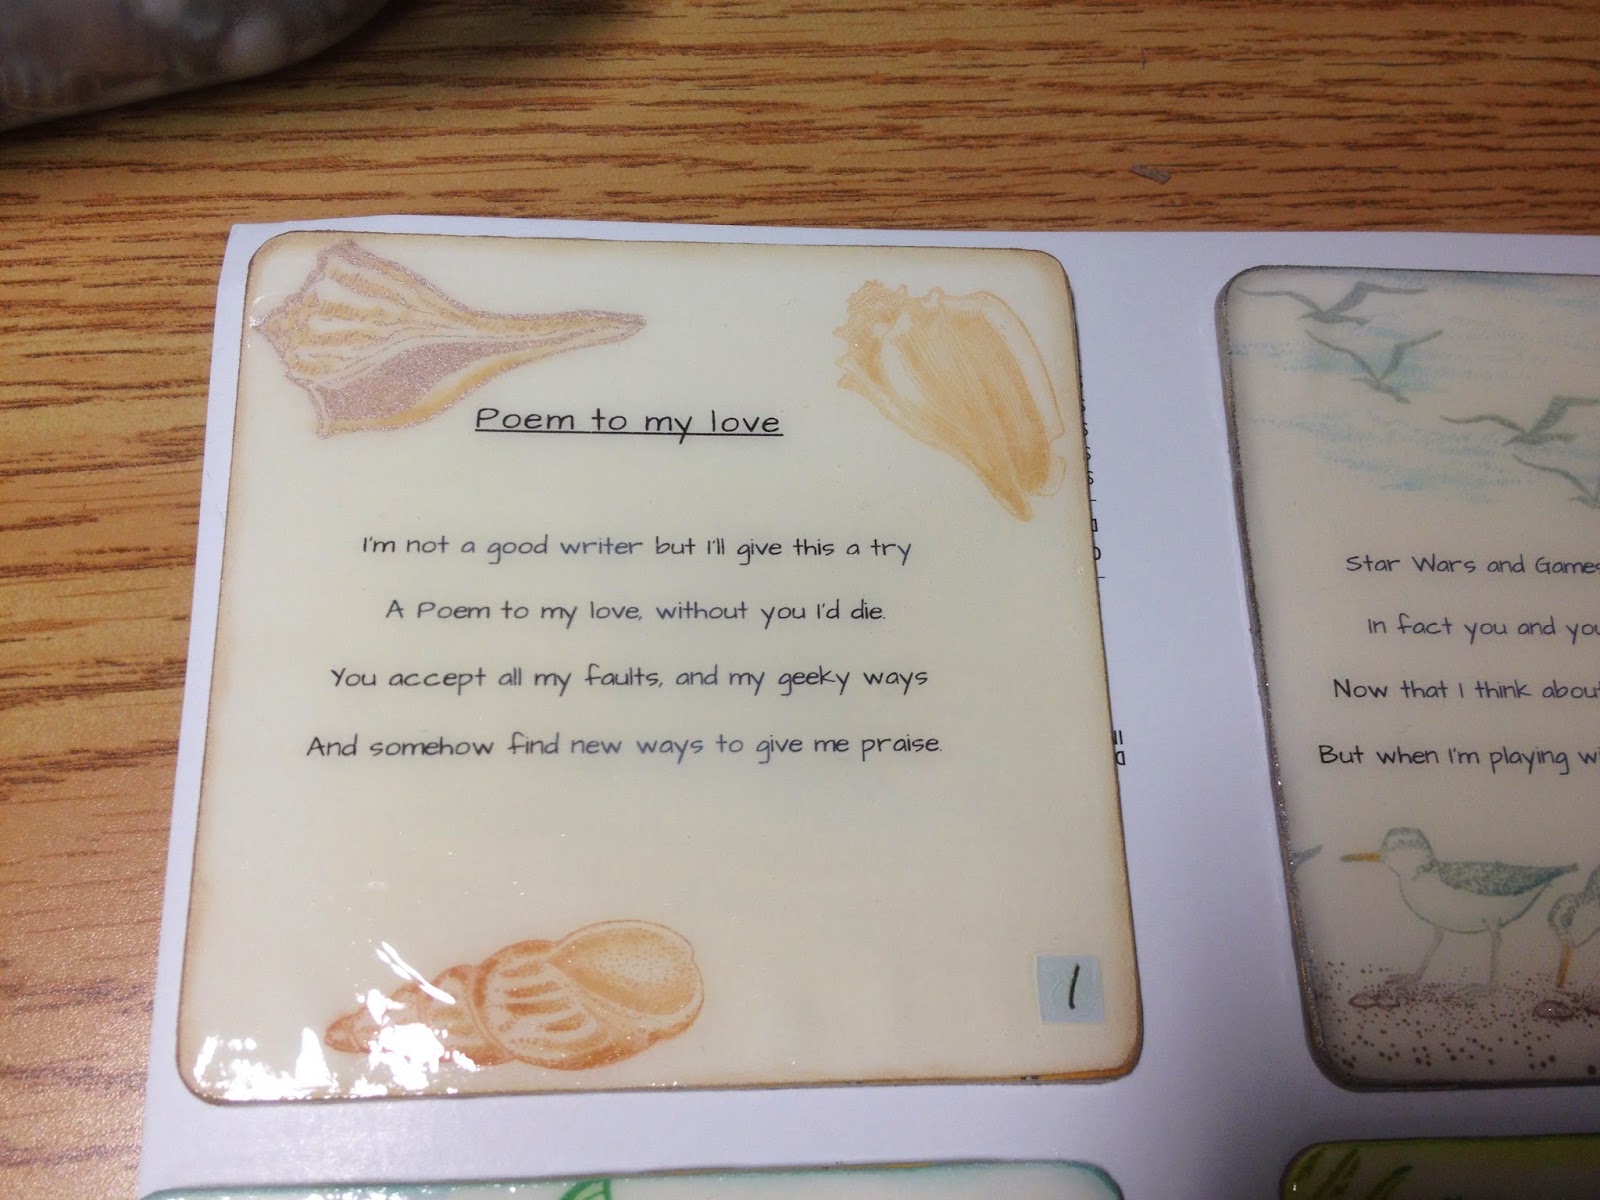
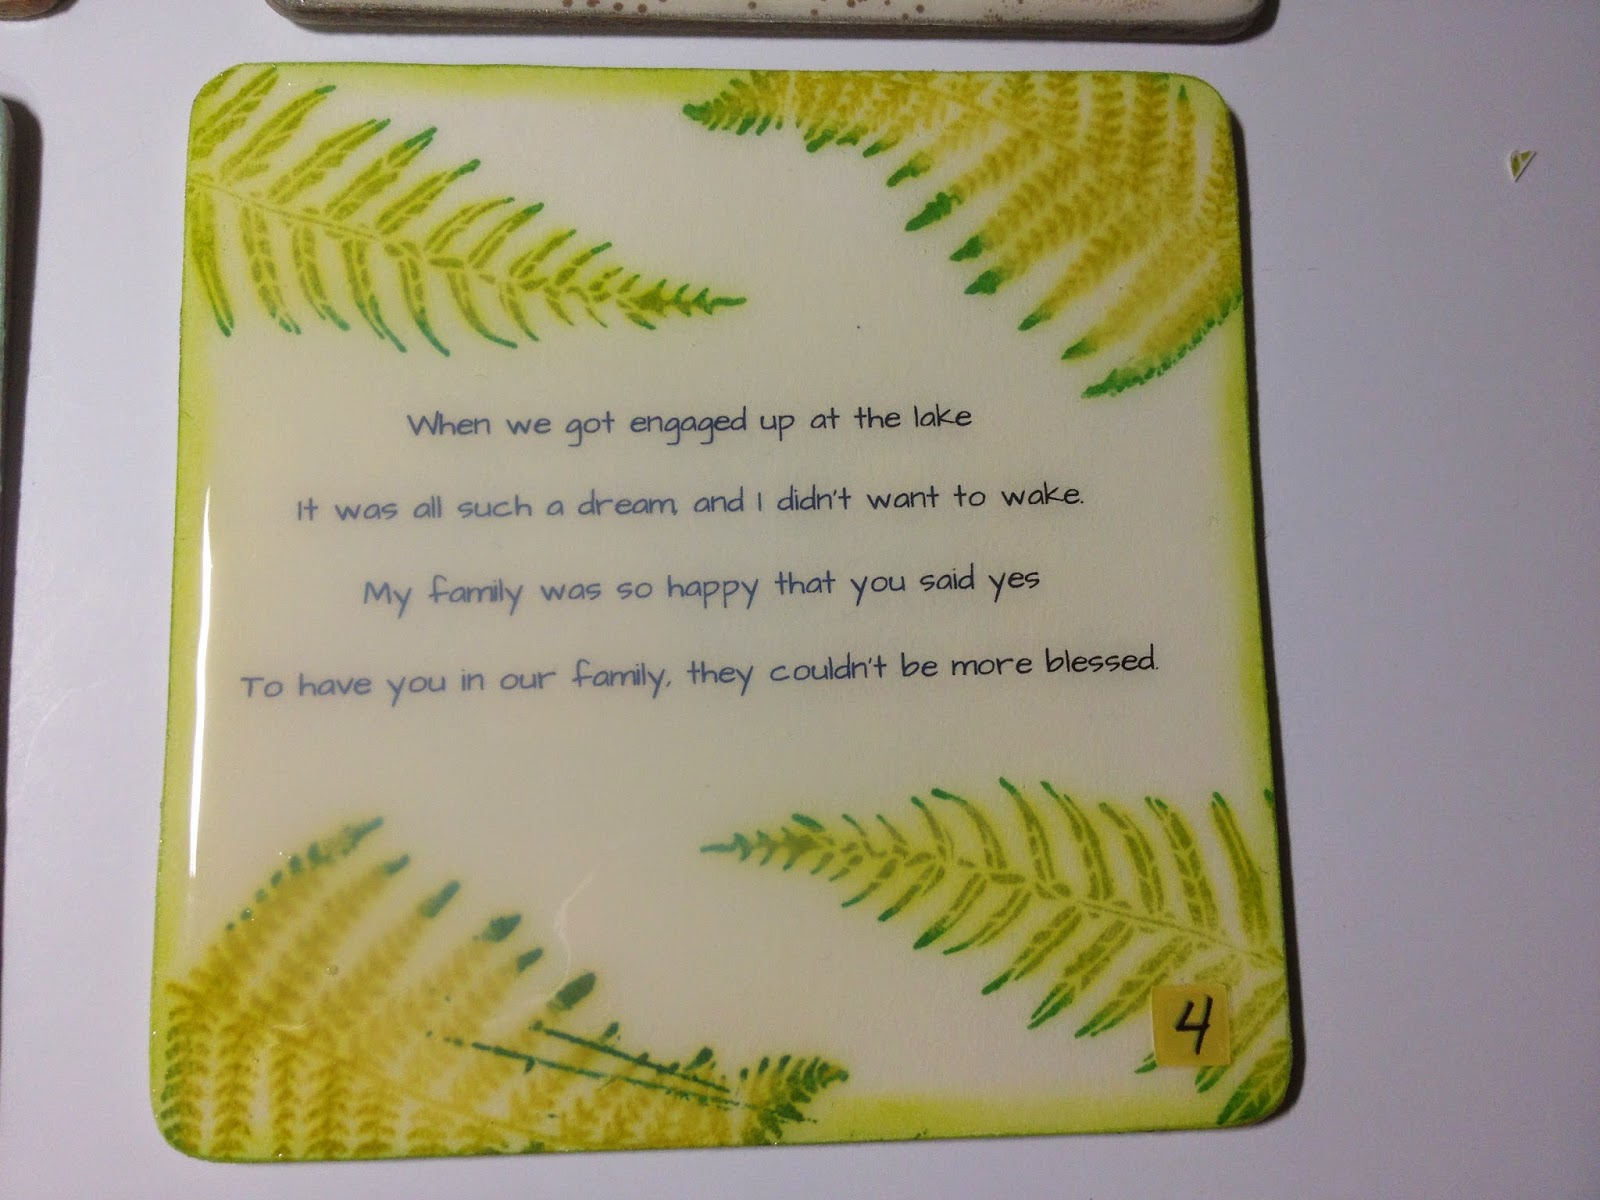
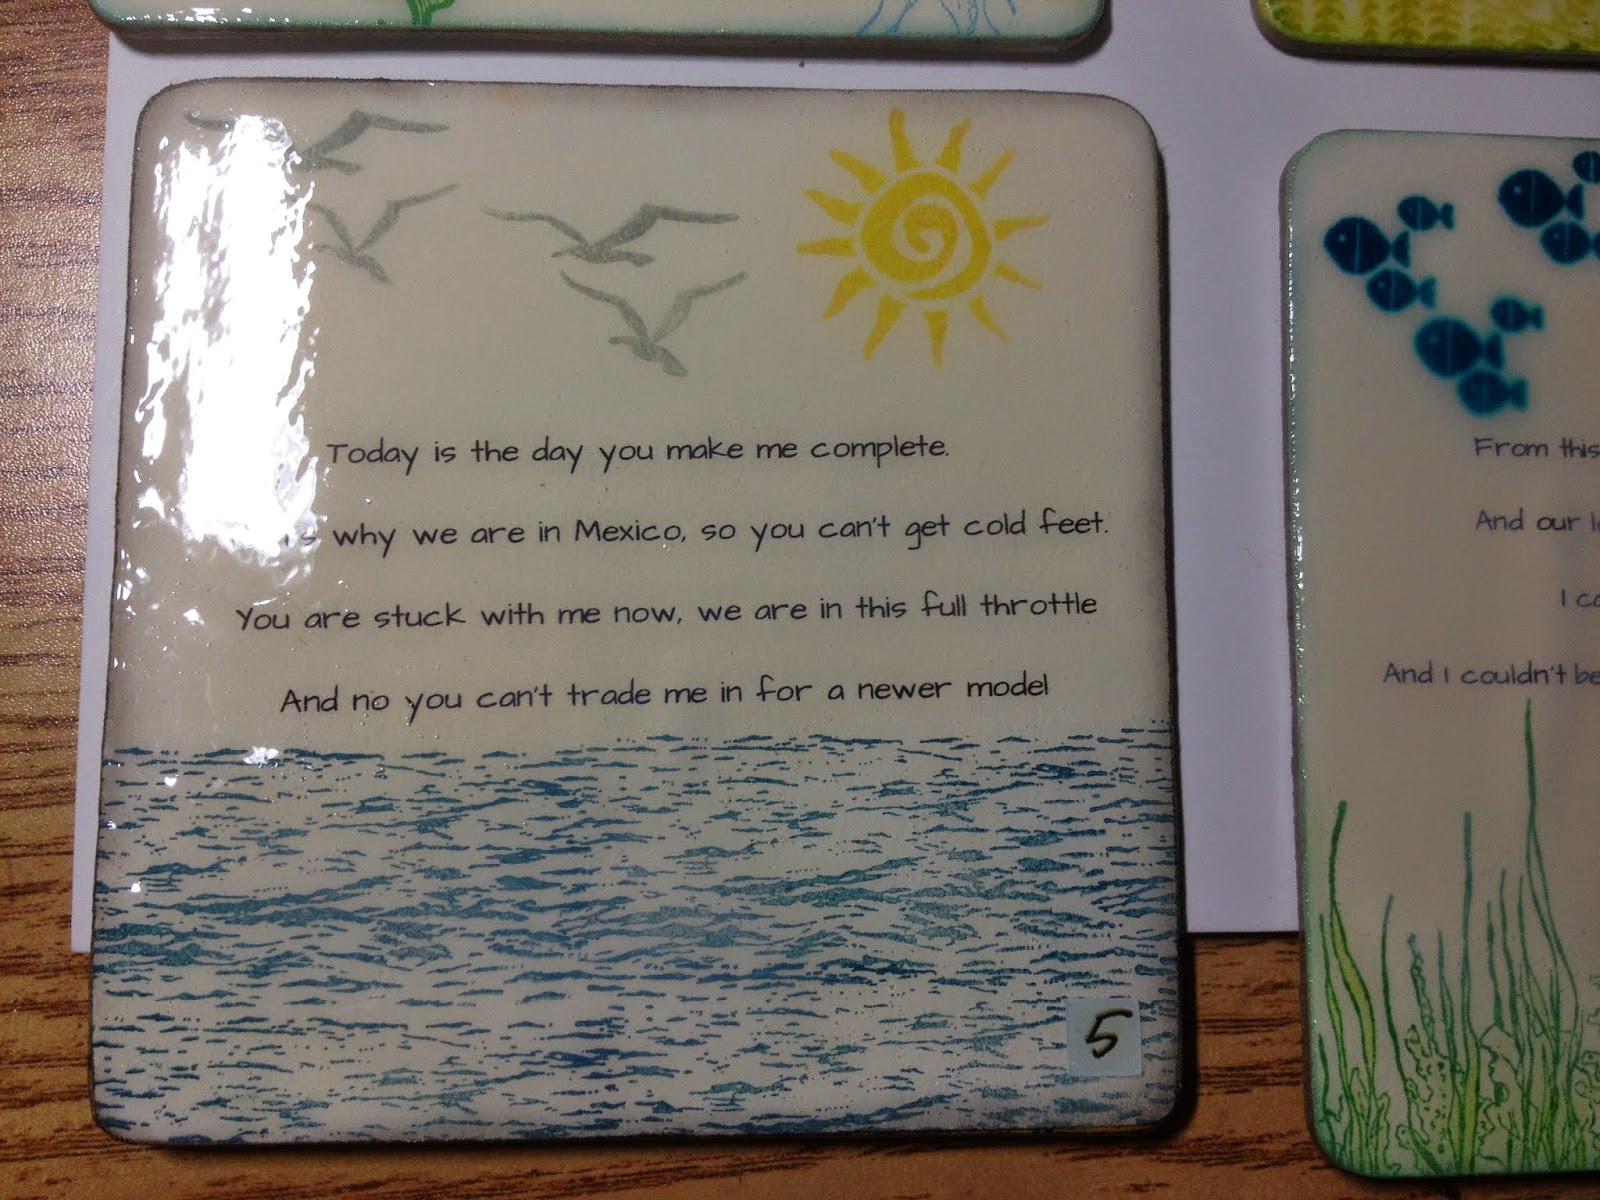
These are our actual vows!  My husband and I scoured the internet in search of the perfect vows for us.  The chipboard pieces were painted with acrylics paints with 3 colors for some light to dark effect.  Afterwards I added some luminescent from the SU pad I own.  For an additional touch, I added little white dots with my white pen.  I did a similar effects to the word "Love", but in painted in one solid black color and without the luminescent ink.


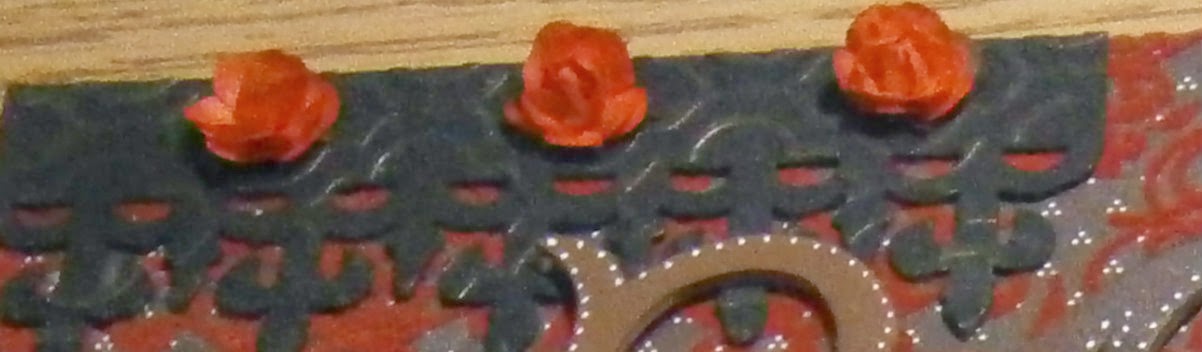
The picket fence cardboard piece I purchased I've had for years. After painting it black, I threw it through an elegant embossing folder and highlighted the highs with gold ink.  It's a little difficult to see the gold in this picture.  The flowers were white and with patience and many dip and dries, they are now red to match the photo.  I used the heat dryer to add some "burn" around the edges for some texture and color densities.


View of Golden Gate's Rustic Bridge.  Magical isn't it?

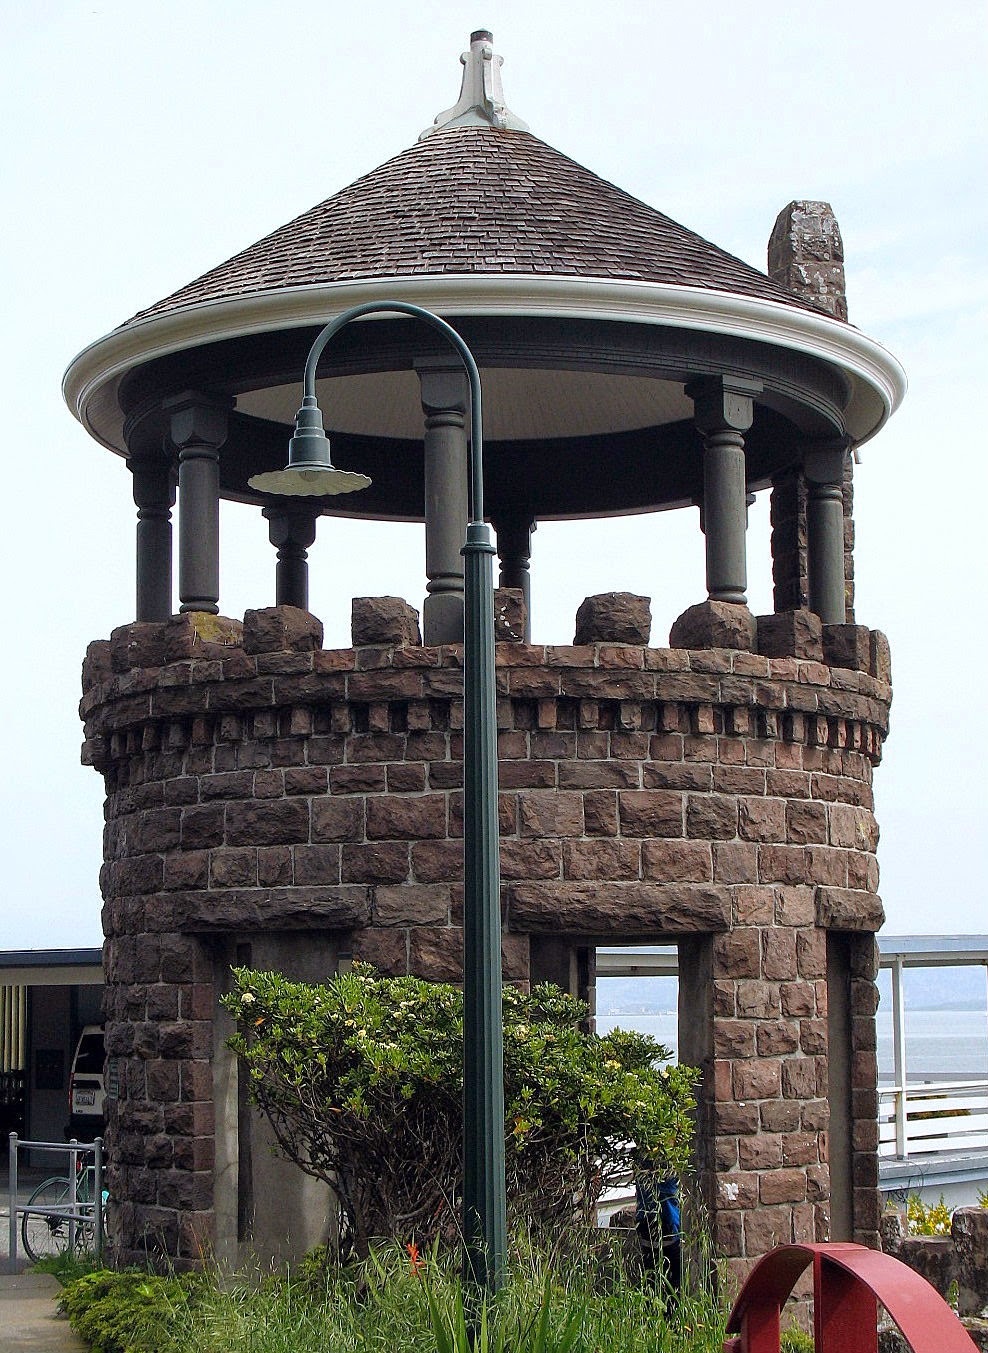
This was the 3rd location of our pictures.  Lyford's Tower.  I hope to make another scrap page one day with this set of pictures.

Thanks for stopping by, I know it was a much longer post, but hope you have enjoyed it.

Nicole G

Monday 21 July 2014

Bella Rocker


If you are looking at some fun coloring options, I highly recommend Kenny K.  He has stamps for many different types of crafters.  Here is Rock Chick.  The dies are all cute from spellbinders and the ribbon, is felt self-adhesive.  The bling is stash bling. The embossing folder is Swirls by Sizzix. 


Thanks for stopping in,

Nicole G

Monday 16 June 2014

Birthday Joy Card Cupcake

This stampin up paper is so fun to play with.  Probably helps that it has a teal and I am a teal magnet!  I also have an addiction to cupcake stamps (and food).  The bling I received through the dollar store.  The punch I think is called Trellis from Martha Stewart.  The die under the cupcake is called Beaded Circle (spellbinders).  I put clear applique on ALL the cherries for some extra shine and of course distressed the edges. 

I am craving a cupcake already! 


The border die is from Memory Box, but the inside die and stamp are both from Whimsy. 

Thanks for stopping in,

Nicole G

Wednesday 11 June 2014

Athena-the awesome!

Are you ready for Athena?  She is incredible.  Tonnes of detail and super fun to color.  Athena Lillith is or was from Tickled Pink, but they went out of business.  But I did pick up as many of their's as possible.  I think I have seen some of their images on another site now... but don't know which.  The dies are from Spellbinders and the edge was is called Flourish Trim.  


Thanks for stopping in, 

Nicole G